Azure — ADLS
You'll create an access connector, storage credential, storage account, and external location to connect Databricks to ADLS Gen2 in ~25 min.
Prereqs: Cloud Object Storage overview, Azure subscription with Contributor permissions
What you'll build
An Azure ADLS Gen2 storage account connected to Databricks through an access connector, a Unity Catalog storage credential, and one or more external locations.
Prerequisites
- An Azure subscription with Contributor permissions.
- A Databricks workspace with metastore-admin or account-admin privileges.
- The storage account must have hierarchical namespace enabled (ADLS Gen2).
Video walkthroughs
Access Connector and External Location setup:
Private Endpoint and Network Connectivity for ADLS Gen2:
For environments that require private networking, see Configure private connectivity to Azure resources.
Steps
1. Create an access connector
The access connector provides the managed identity that Databricks uses to authenticate to your storage account.
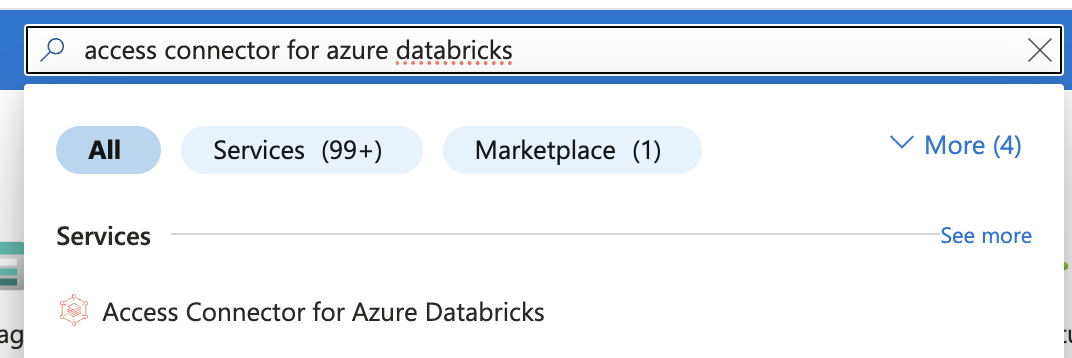
- In the Azure portal, search for Access Connector for Azure Databricks and select it.
- Click Create.

-
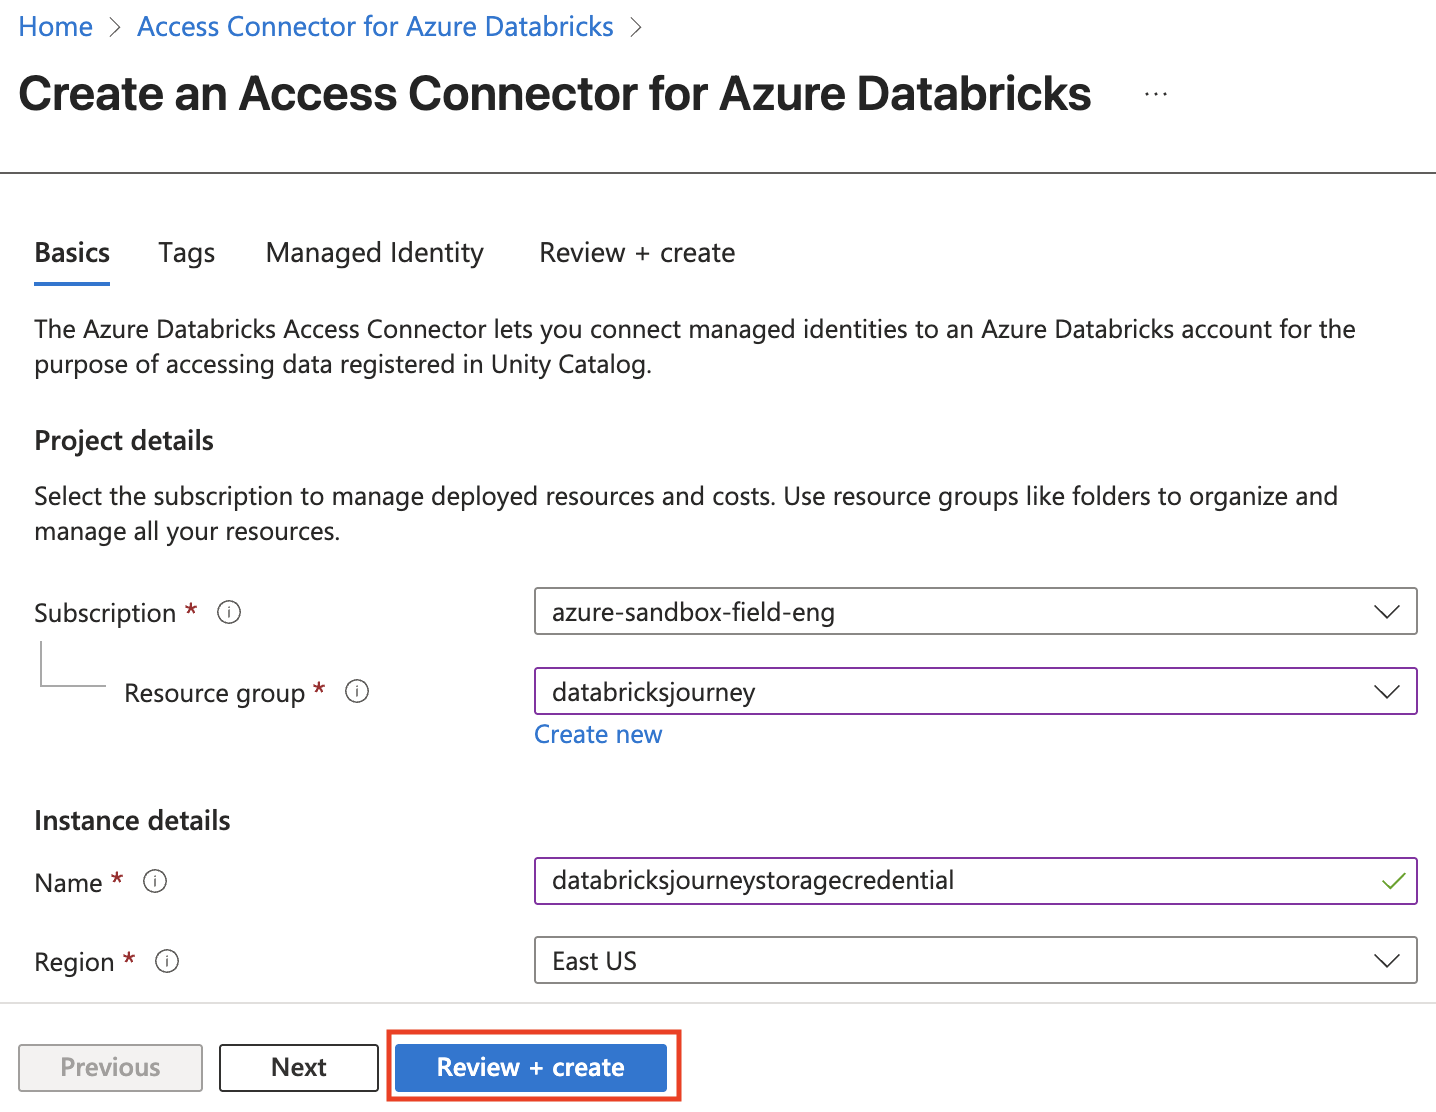
Fill in the form:
- Subscription: the subscription where the connector will be deployed.
- Resource group: choose or create a resource group.
- Name: a descriptive name for the connector.
- Region: same region as your Databricks workspace.
-
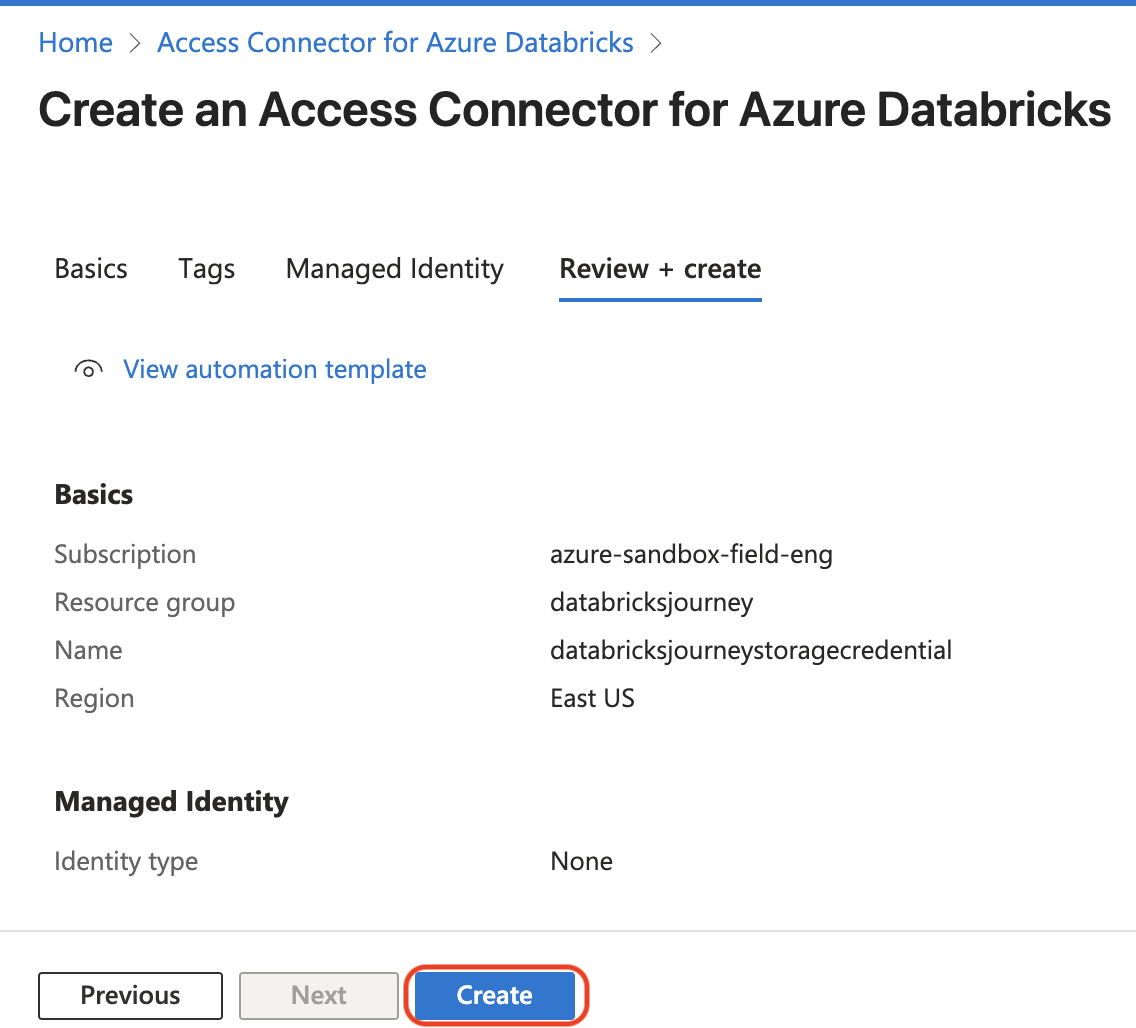
Click Review + create, then Create.
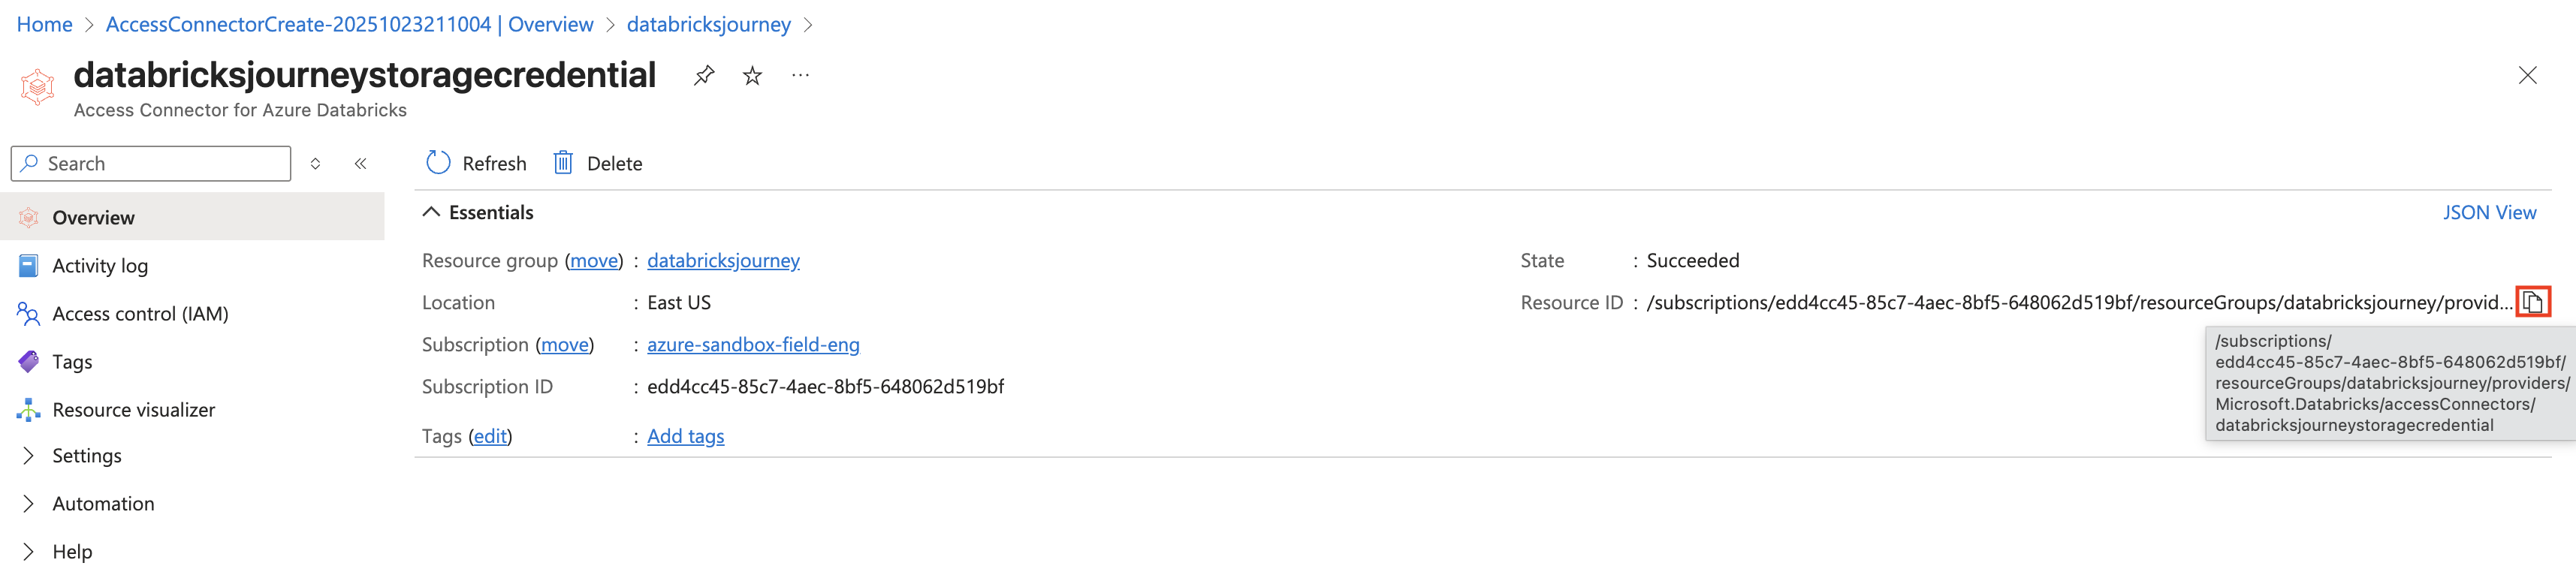
- After deployment, navigate to the new access connector and copy the Resource ID from the overview page.
2. Create a storage credential in Databricks
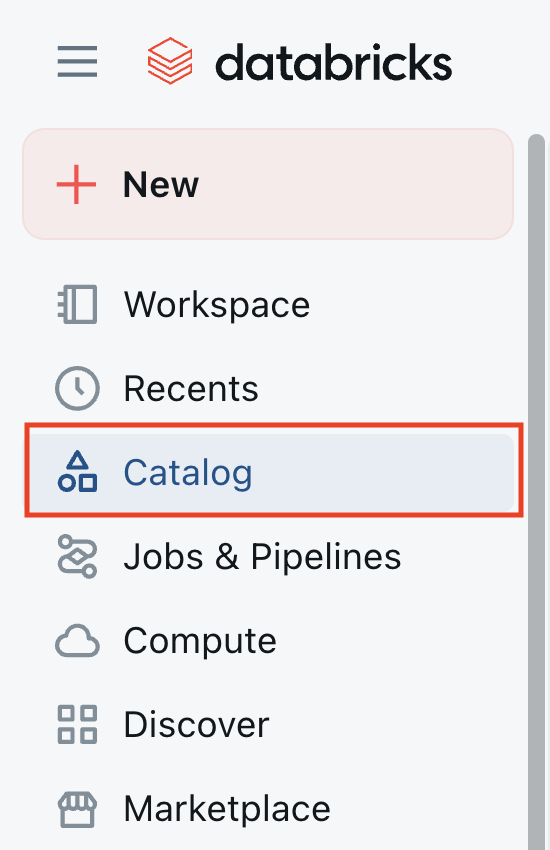
- In the Databricks workspace, click Catalog in the left sidebar.
- Click External Data.

- Go to the Credentials tab and click Create credential.

-
Fill in the form:
- Credential Name: a descriptive name.
- Authentication Type: Azure Managed Identity.
- Access Connector ID: paste the Resource ID from Step 1.
- Description: optional.
-
Click Create.
3. Create or prepare a storage account
If you already have a compliant ADLS Gen2 storage account, skip to Step 4.
- In the Azure portal, search for Storage Account and select it.
- Click Create.

- Configure the Basics tab:
- Subscription: same as your Databricks workspace.
- Resource group: same as or adjacent to your workspace resources.
- Storage account name: globally unique, lowercase letters and numbers only.
- Region: same region as your Databricks workspace.
- Performance: Standard (sufficient for most use cases).
- Redundancy: choose based on durability requirements (LRS, ZRS, GRS, or GZRS).

- In the Advanced tab, enable Hierarchical namespace (required for Unity Catalog). Set access tier to Hot.
Hierarchical namespace must be enabled at creation time. It cannot be enabled on an existing storage account.
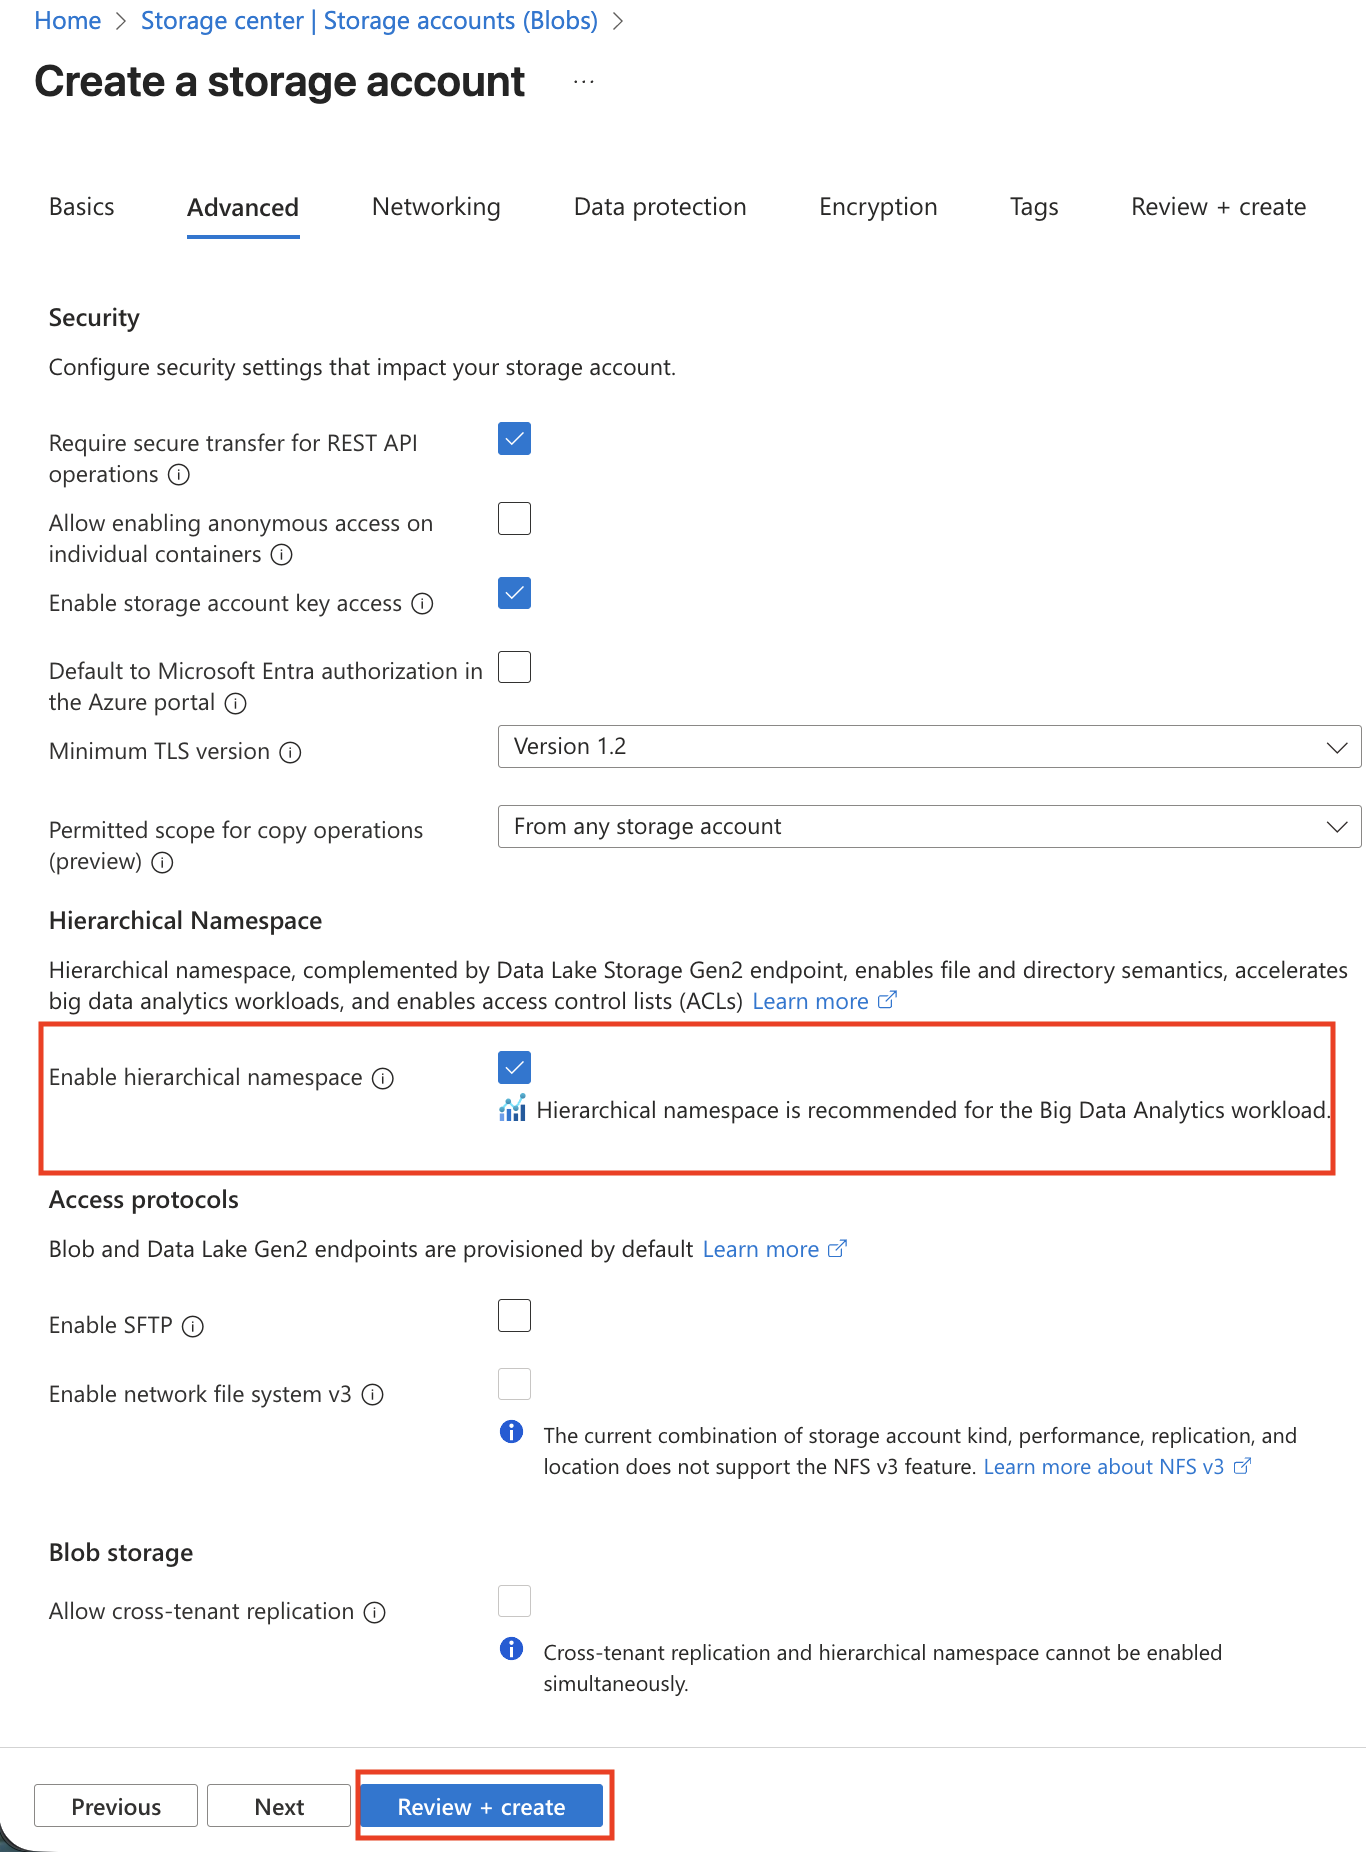
- Click Review + create, then Create.
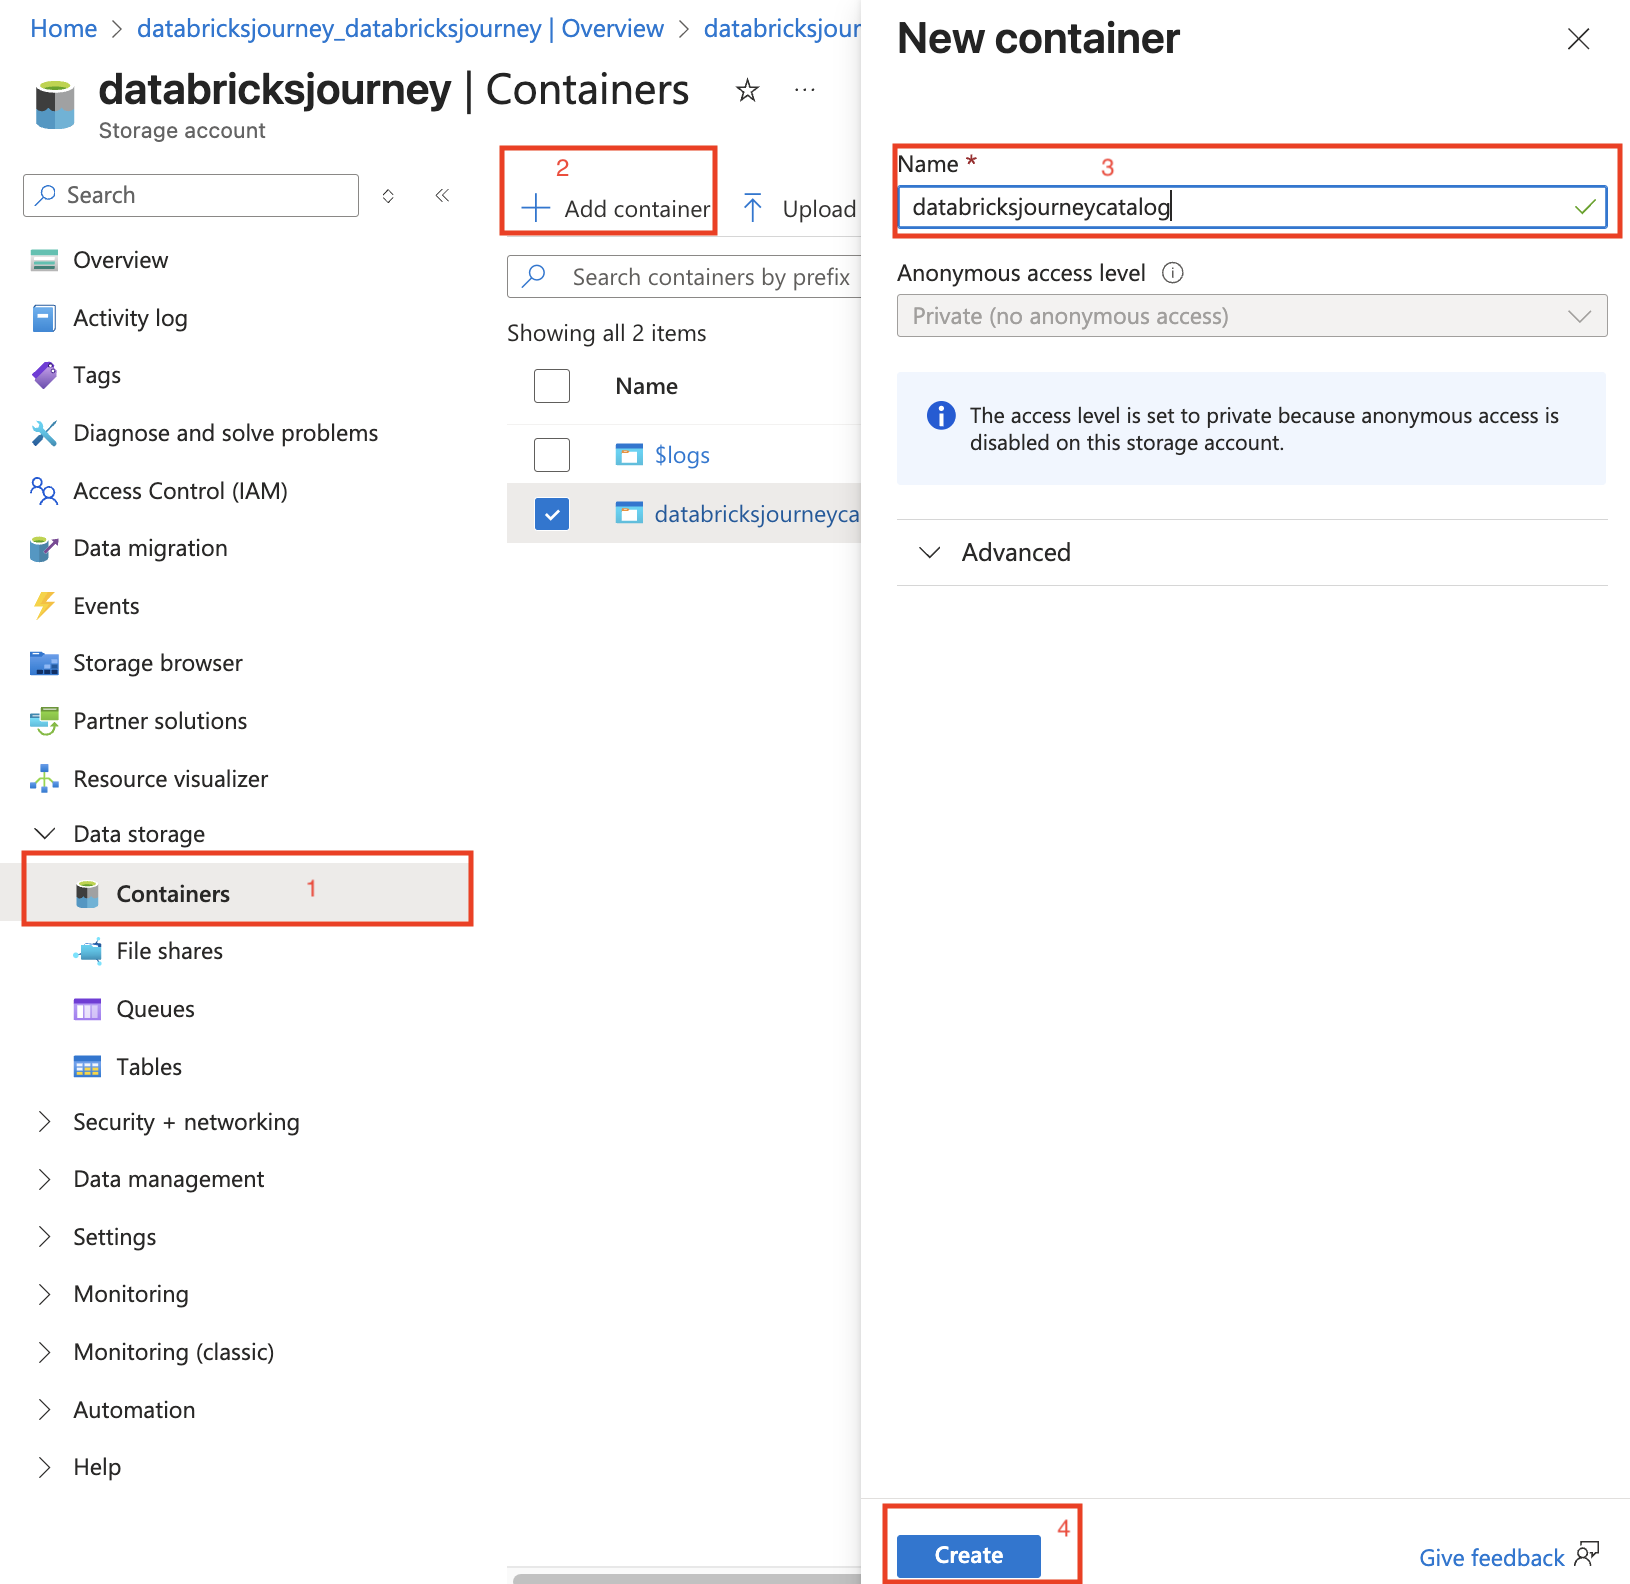
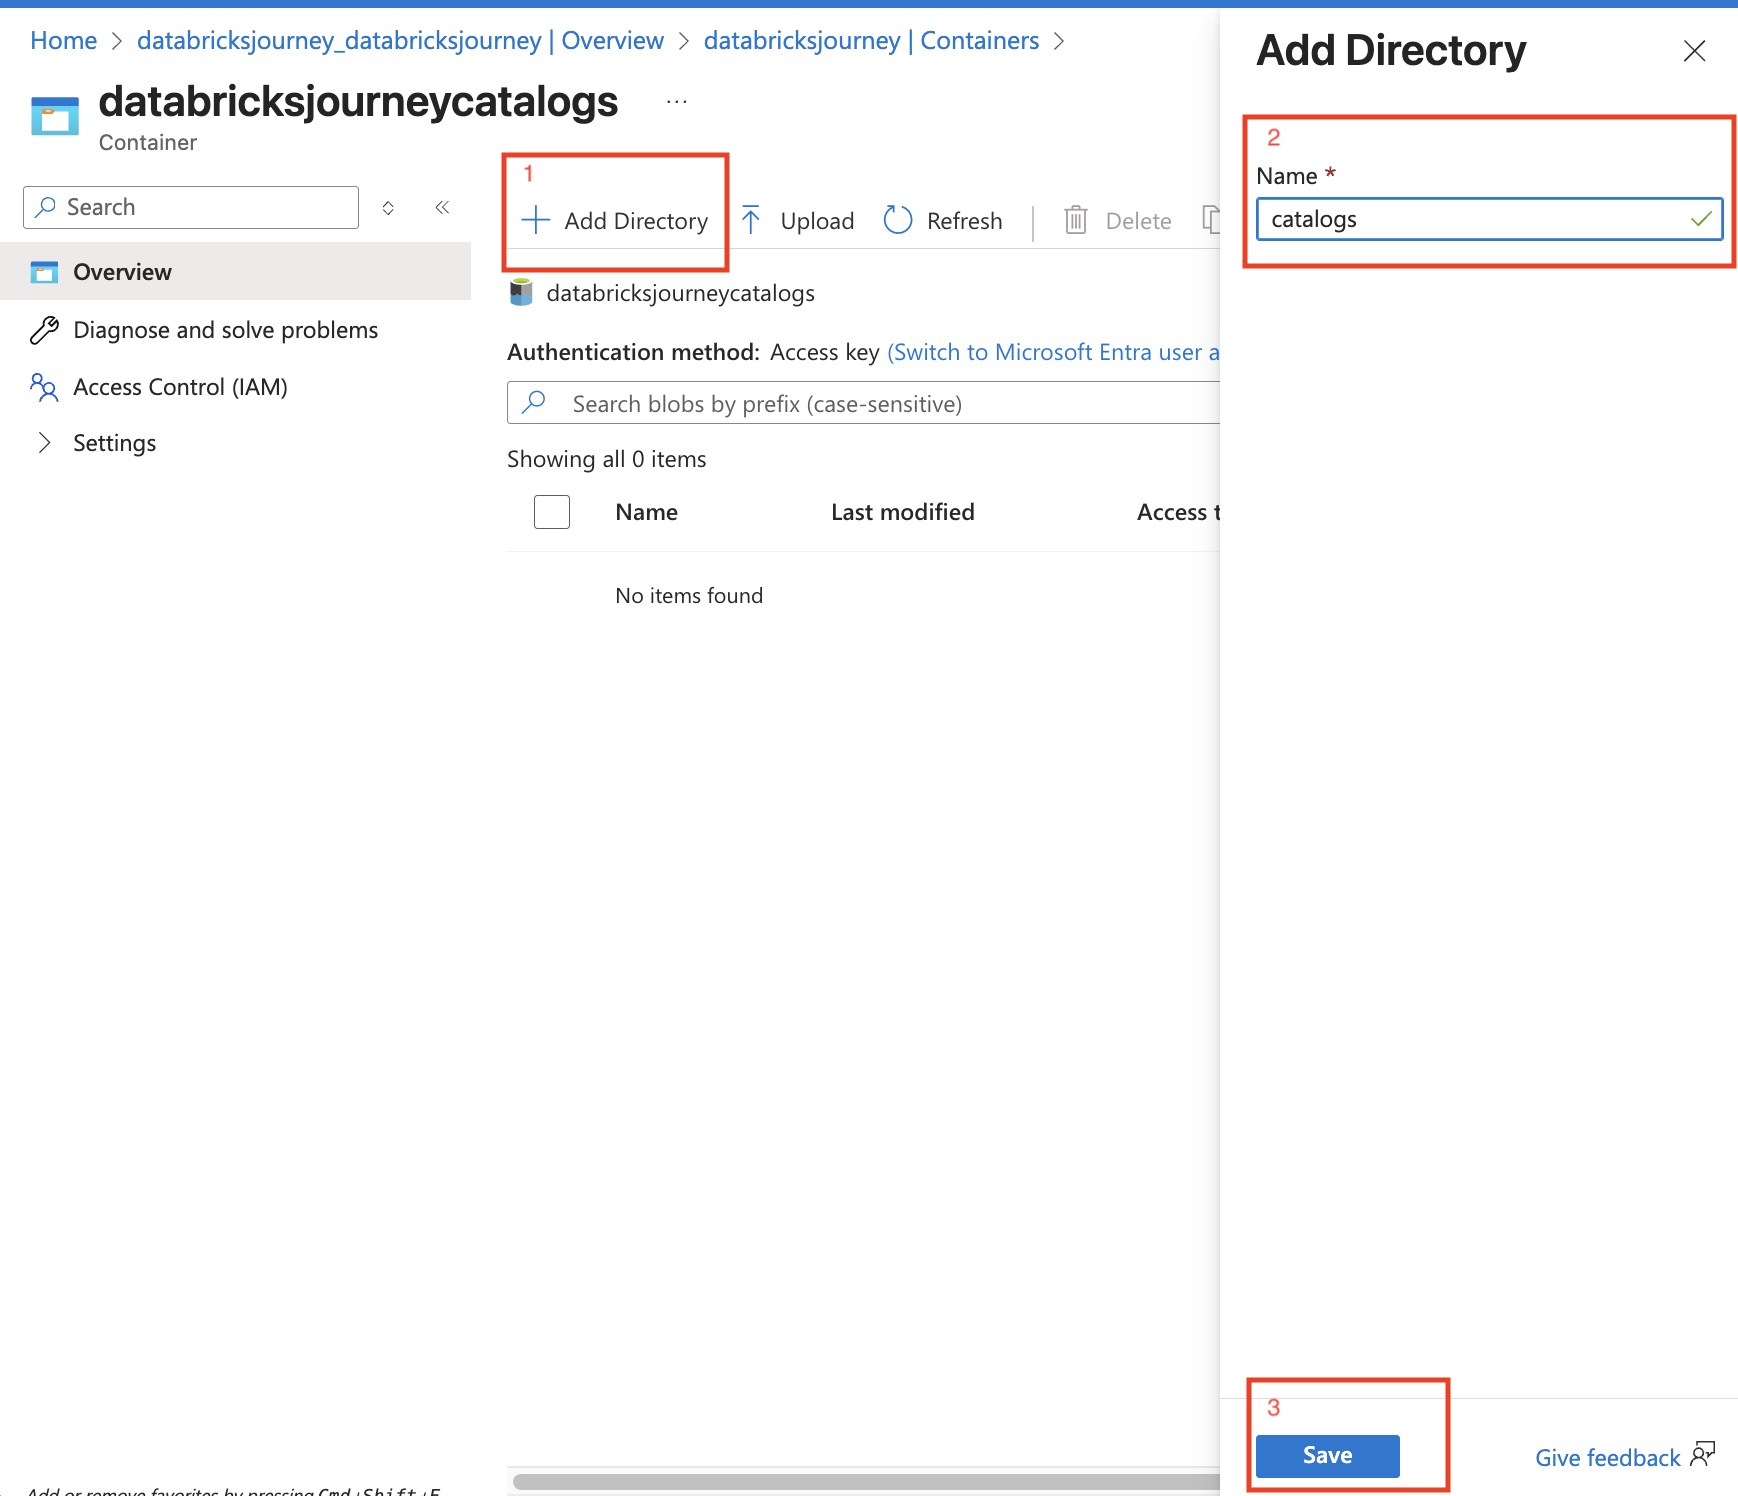
- Navigate to the new storage account, create a container, and optionally add directories inside it (e.g.,
bronze,silver,gold).
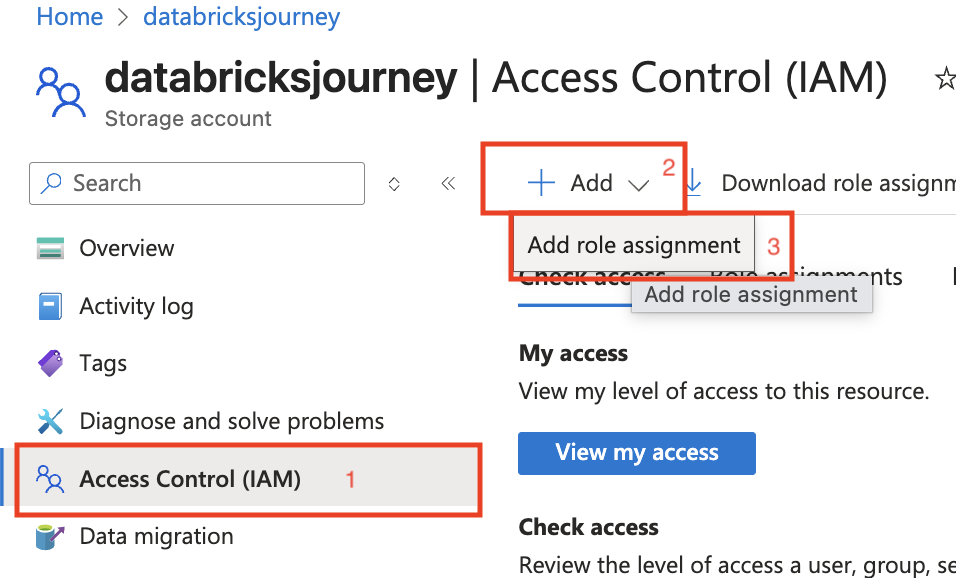
4. Assign IAM permissions to the access connector
The access connector's managed identity needs the Storage Blob Data Contributor role on the storage account.
- In the Azure portal, navigate to the storage account.
- Click Access control (IAM) in the left sidebar.
- Click + Add > Add role assignment.
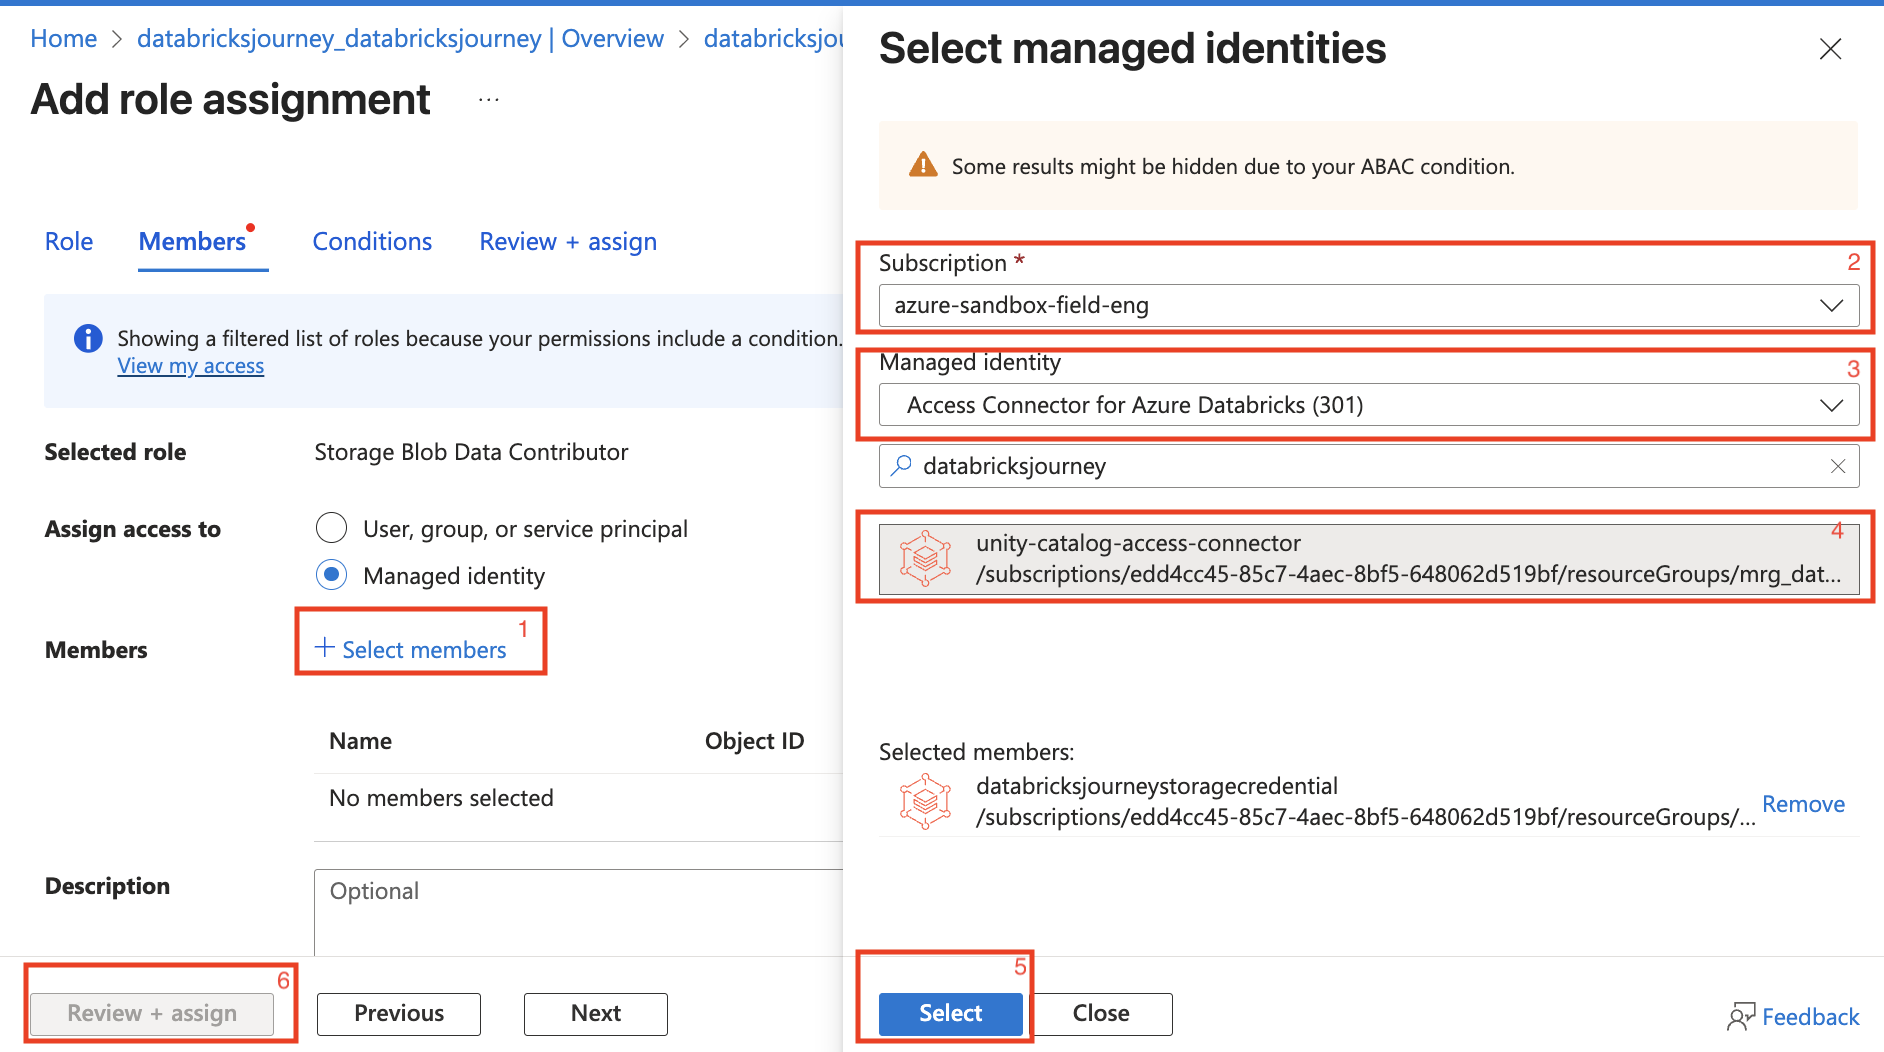
- Search for Storage Blob Data Contributor, select it, and click Next.

- In the Members section:
- Select Managed identity as the assignment type.
- Click + Select members and search for your access connector.
- Select it, click Select, then Review + assign.
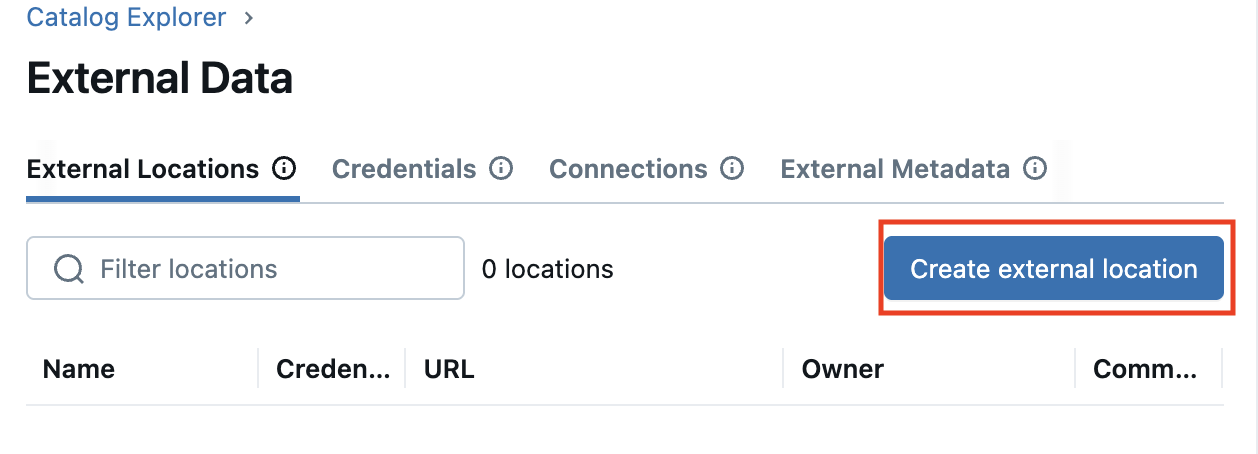
5. Create an external location in Databricks
- In the Databricks workspace, go to Catalog > External Data.
- Go to the External Locations tab and click Create external location.
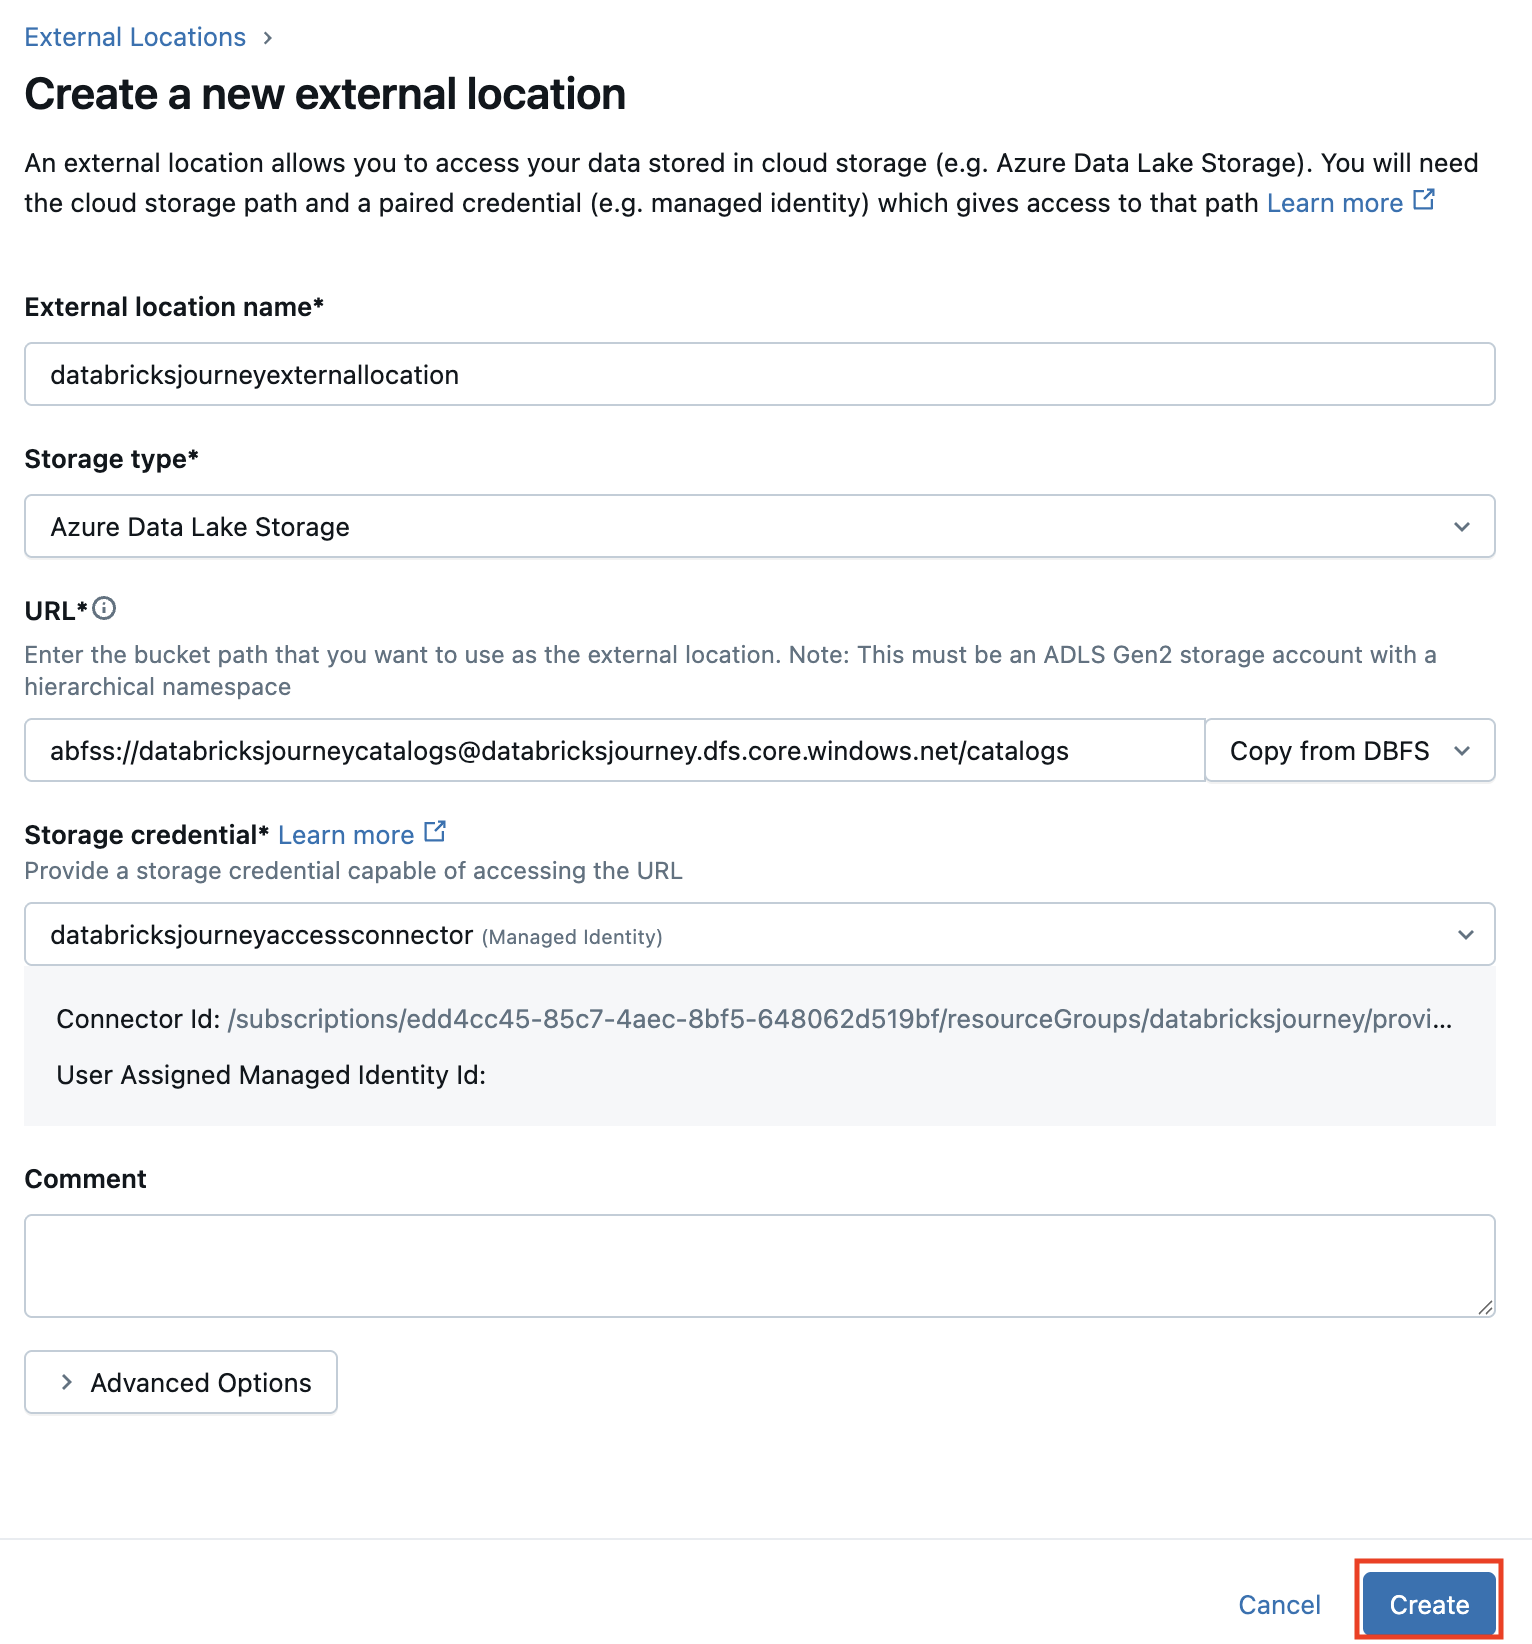
-
Fill in the form:
- External Location Name: a descriptive name (e.g.,
raw-data-location). - Storage Type: Azure Data Lake Storage Gen2.
- URL:
abfss://<container>@<storage_account>.dfs.core.windows.net/<folder_path> - Storage credential: select the credential from Step 2.
- External Location Name: a descriptive name (e.g.,
-
Click Create.
6. Mark the external location as read-only
After the external location is created, mark it as read-only. This prevents any Databricks workload from writing to the storage path, protecting your source data from accidental modifications.
Follow the guide: Mark an external location as read-only.
Skipping this step leaves the external location writable by any principal with write grants. Always set it to read-only unless your pipeline explicitly needs to write back to this path.
Verify
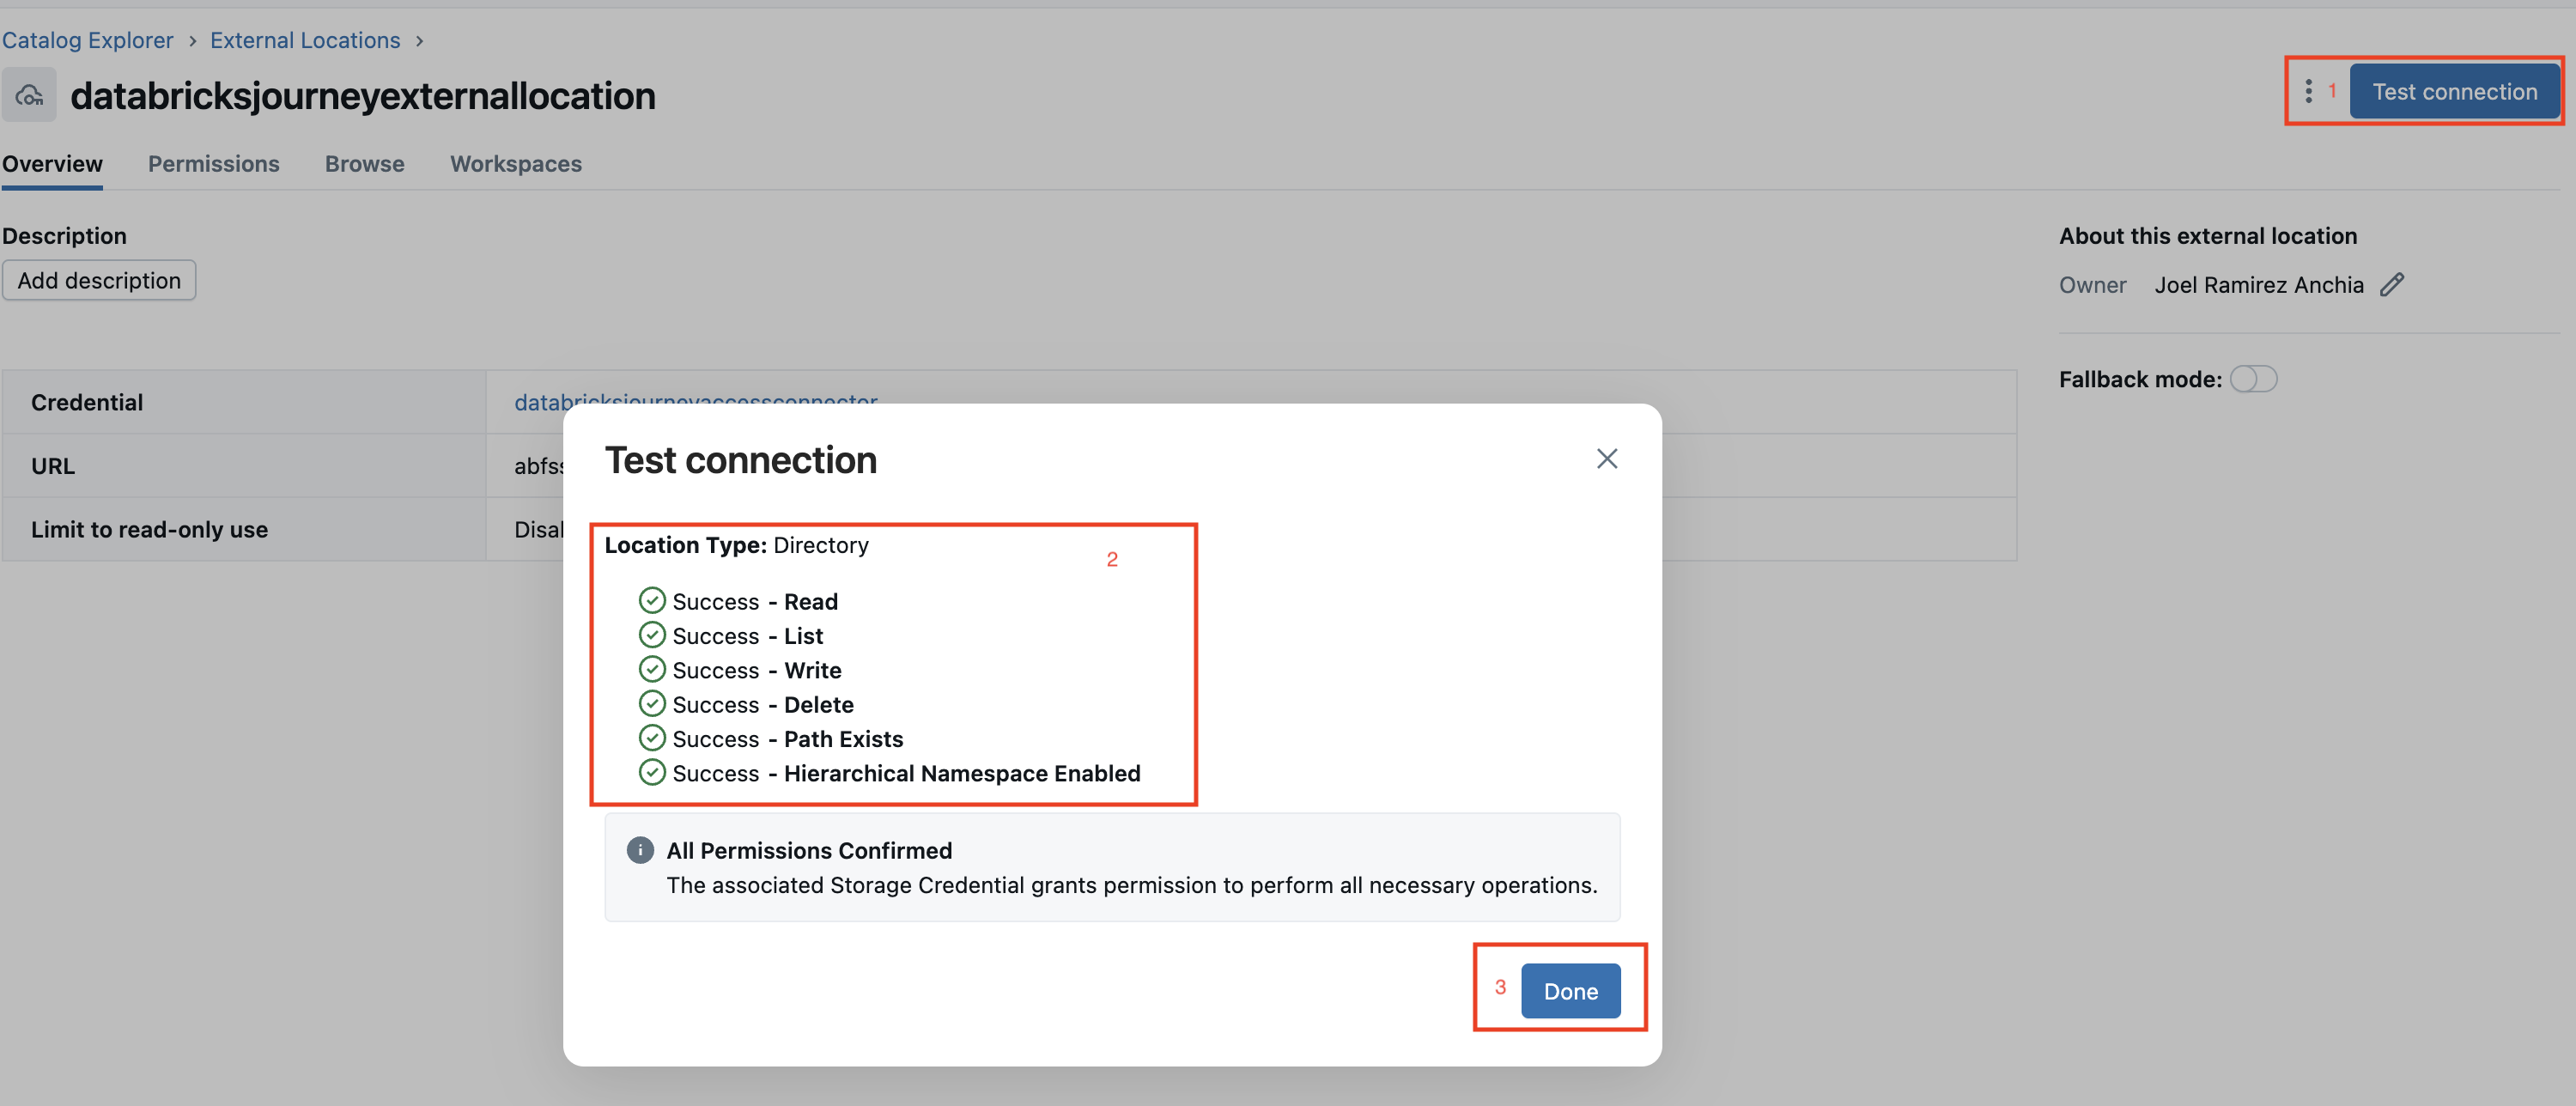
- In the Databricks workspace, navigate to Catalog > External Data > External Locations.
- Click the new external location and click Test Connection.
- Confirm the test returns a success status.
Troubleshoot
Test Connection fails with permission denied
The access connector's managed identity does not have the Storage Blob Data Contributor role on the storage account. Verify the IAM role assignment in the Azure portal under the storage account's Access control (IAM) section.
External location creation fails with invalid URL
The URL format must be abfss://<container>@<storage_account>.dfs.core.windows.net/<path>. Verify the container exists, the storage account name is correct, and hierarchical namespace is enabled on the storage account.
Storage credential creation fails
Confirm the Access Connector Resource ID is correct (copy it from the Azure portal overview page). The access connector must be in the same region as the Databricks workspace.
Next
- Do next: Managed connectors
- Learn why: Unity Catalog foundations
- Reference: Connect to ADLS Gen2 using Unity Catalog